Water Ripple Stainless Steel Sheets — Tech Guide
 Jun 17, 2026
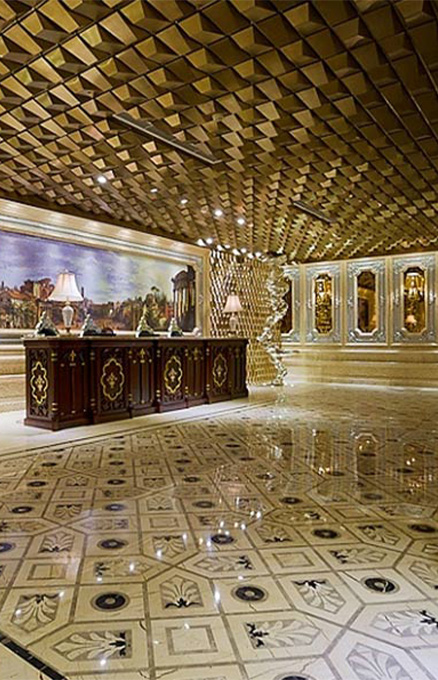
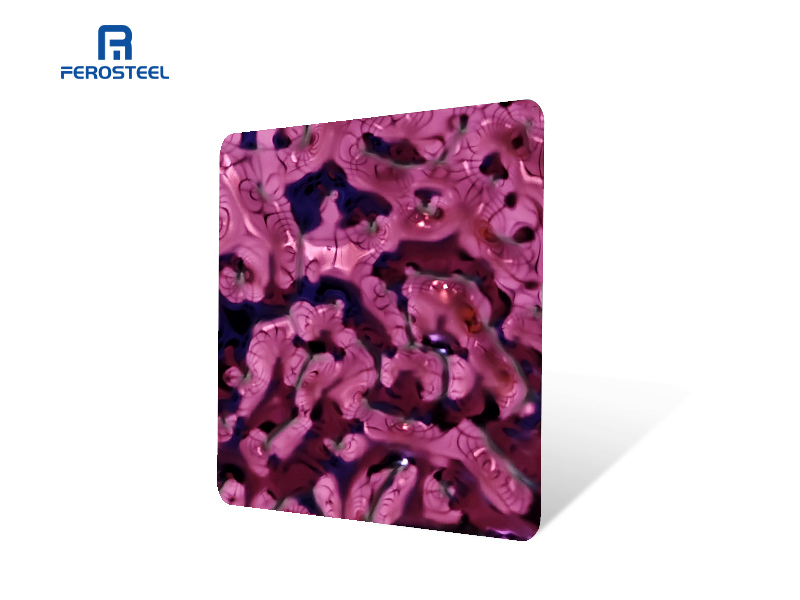
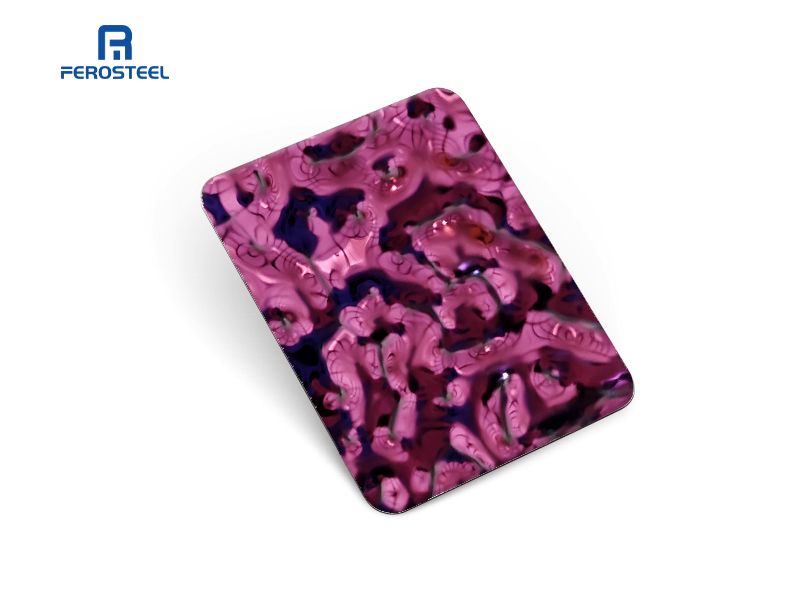
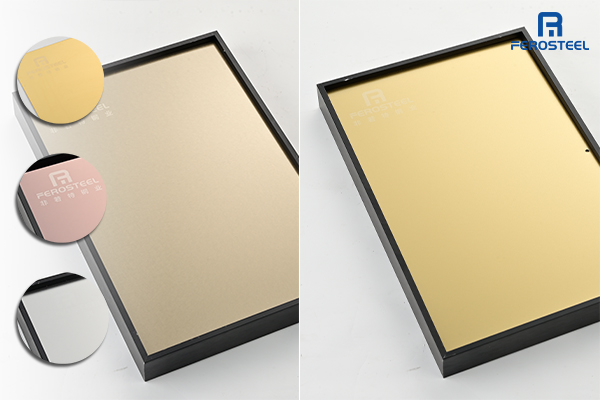
It's 7 PM on a Friday evening. You step into the lobby of a newly opened five-star hotel in Dubai — and before the concierge even greets you, your eyes drift upward. The ceiling above the reception isn't just reflecting light; it's *alive*. Undulating waves of rose-gold metal catch the chandelier's glow and scatter it across the room like sunlight on water. You've just experienced the effect of water ripple stainless steel sheets — and once you notice it, you'll start seeing them everywhere.
If you've already read our comprehensive buyer's guide to water ripple stainless steel, you know what these sheets are and why they're in demand. But knowing *what* isn't the same as knowing *how* — how they're made, how to specify them correctly, and how to avoid the costly mistakes that catch even experienced buyers off guard.
Key Takeaways
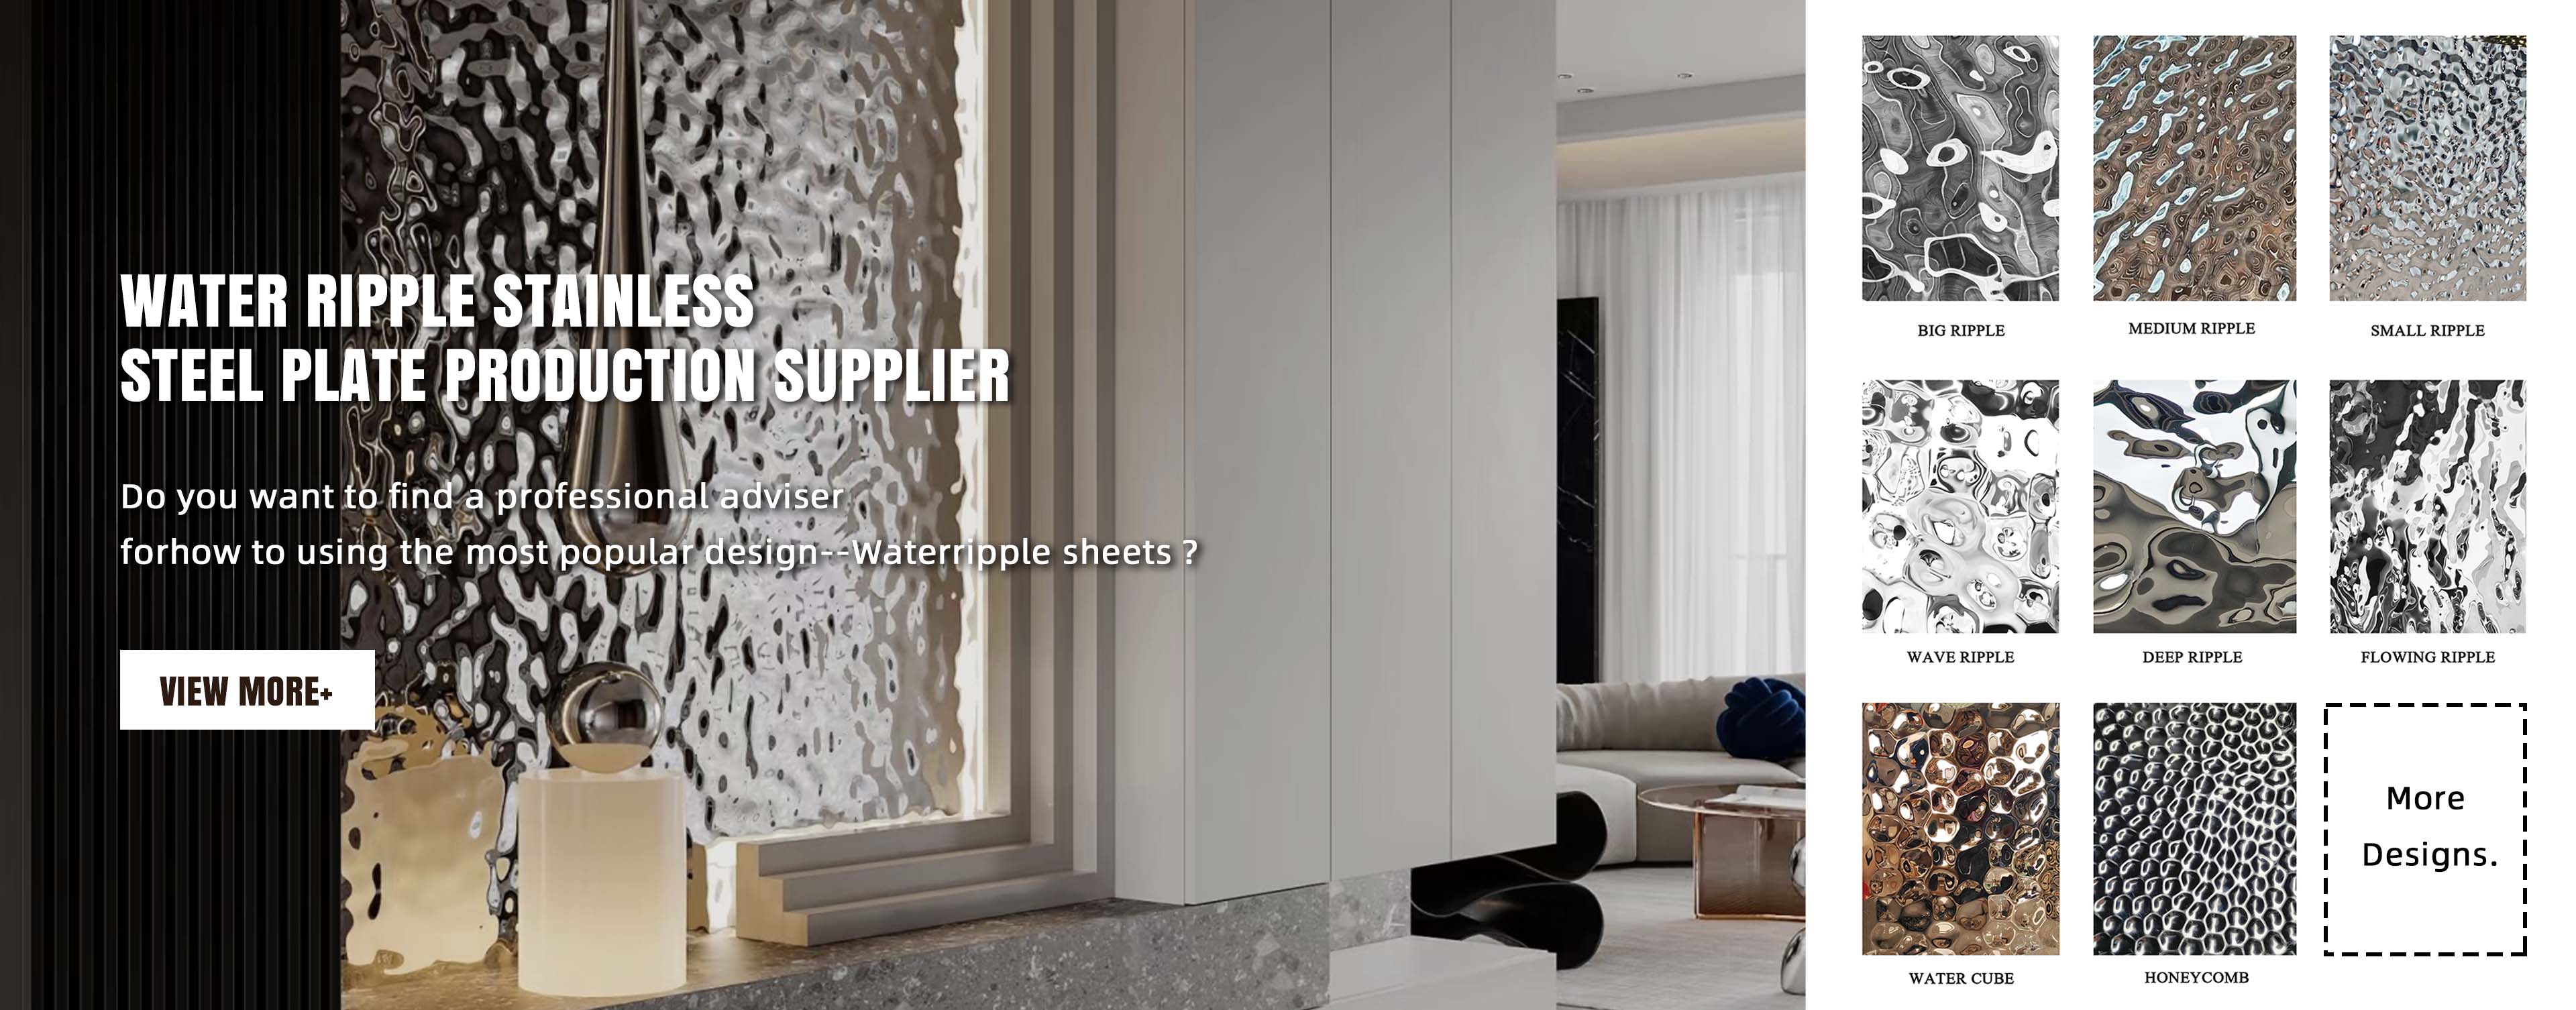
- Water ripple stainless steel sheets achieve their effect through precision stamping on mirror-polished surfaces, creating structured light diffraction — not random texturing.
- Three ripple geometries (small, medium, large) serve different spatial scales; choosing the wrong size is the #1 specification mistake.
- PVD-coated water ripple sheets withstand 1,000+ hours of salt spray testing, making them viable for coastal and high-humidity applications.
- Installation method selection (adhesive, clip-on, or suspended frame) should be driven by ceiling height, substrate condition, and access requirements — not just cost.
- Pre-grooving before stamping is the critical manufacturing step that determines joint quality in large-scale installations.
What Makes Water Ripple Stainless Steel Unique? — The Science Behind the Waves
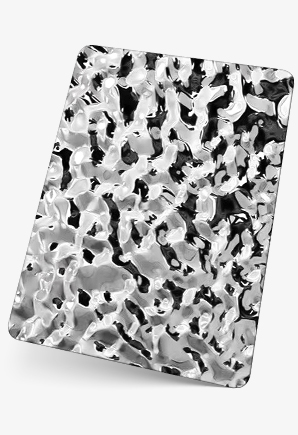
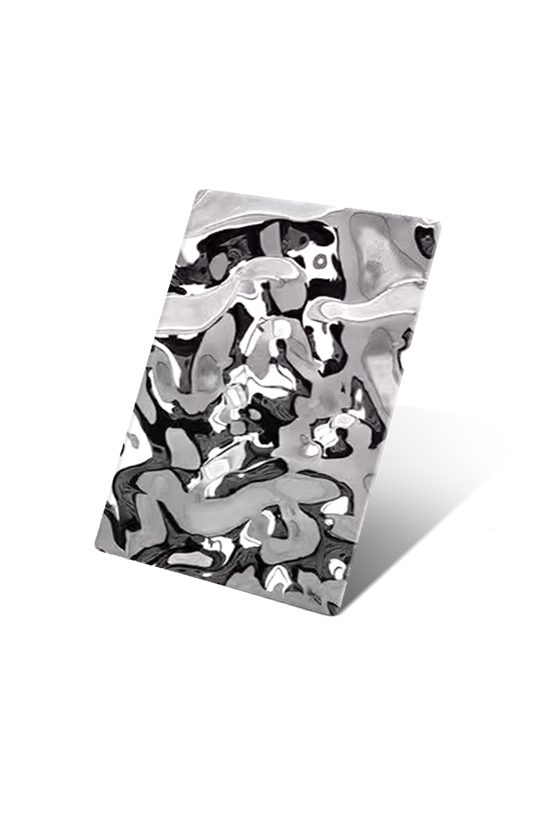
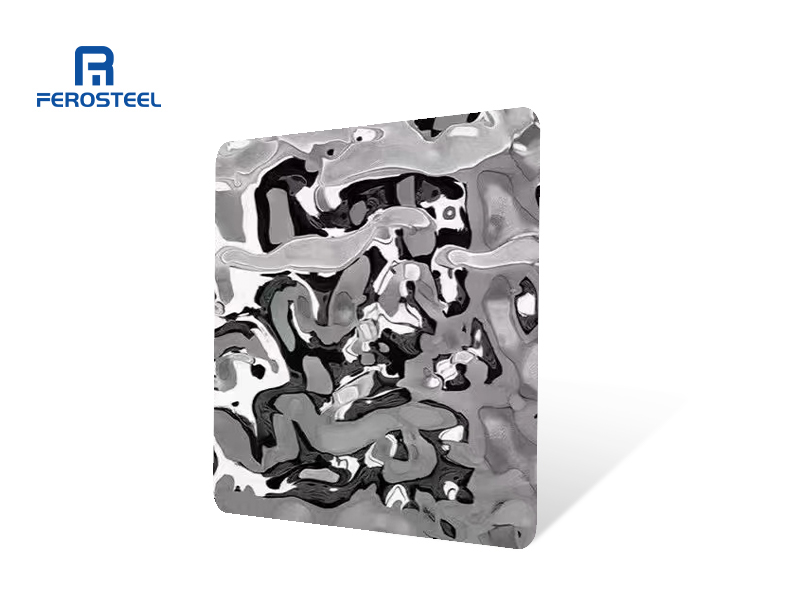
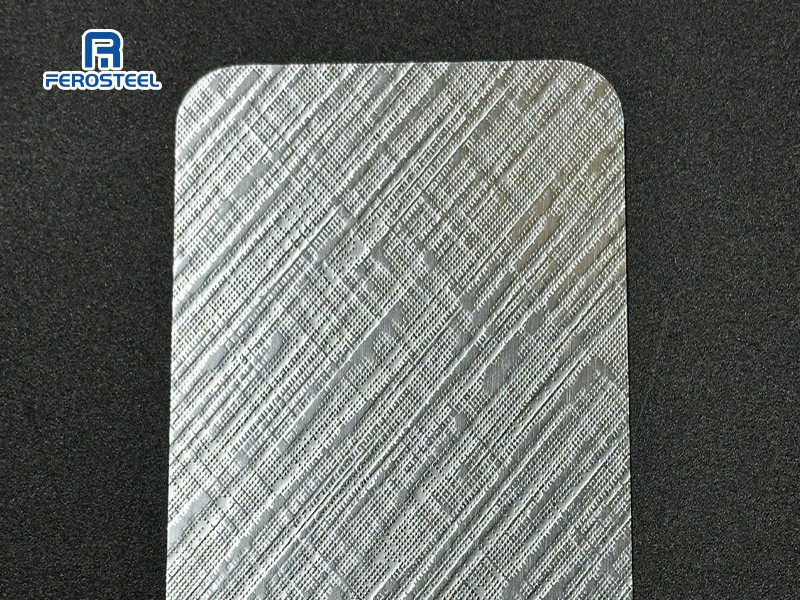
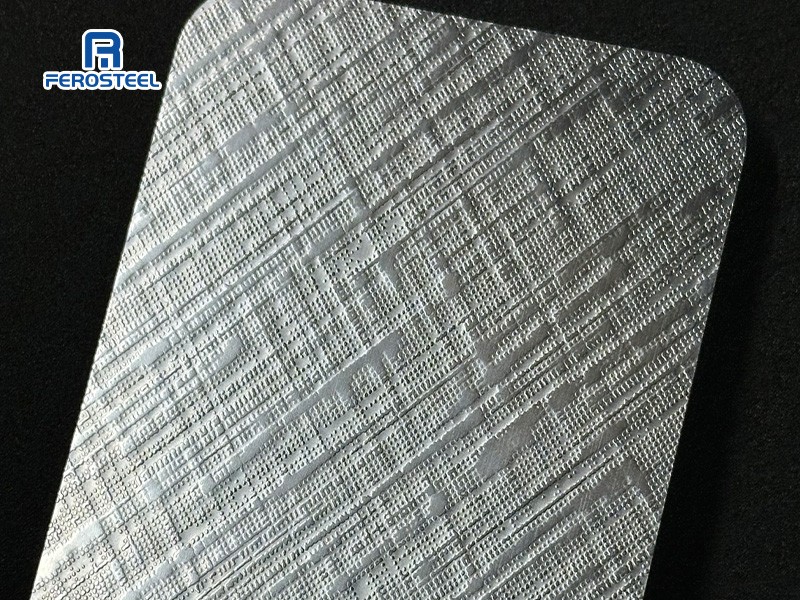
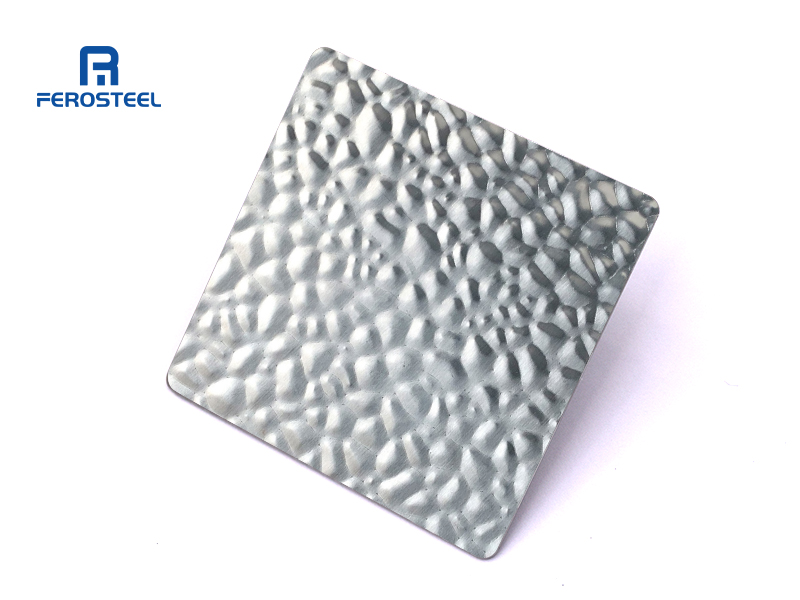
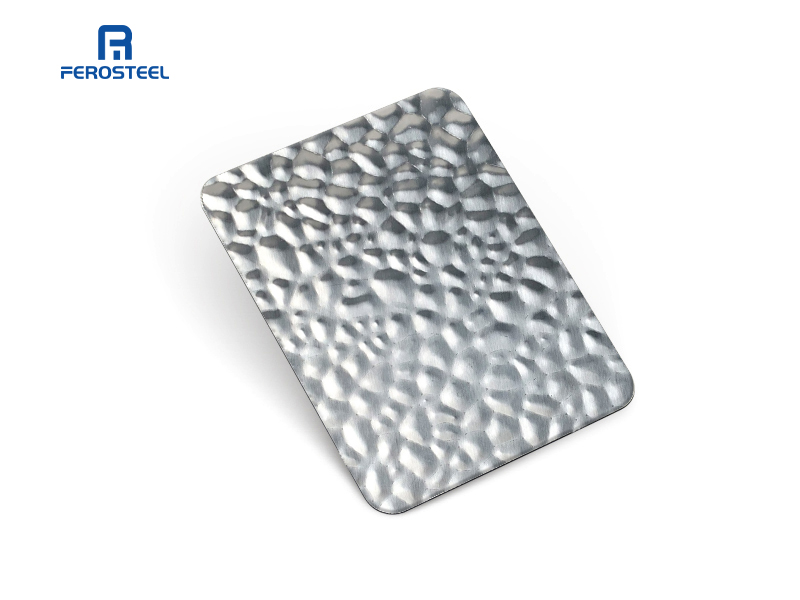
Water ripple stainless steel sheets are mirror-polished stainless steel panels with precision-stamped undulating patterns that create structured light diffraction — producing a dynamic, flowing-water visual effect unlike any other decorative metal finish.
Most people assume water ripple sheets are just "bumpy metal." They're not. The visual impact comes from a precise interplay of geometry and optics — and understanding that interplay is what separates a successful specification from a disappointing one.
The Optical Principle
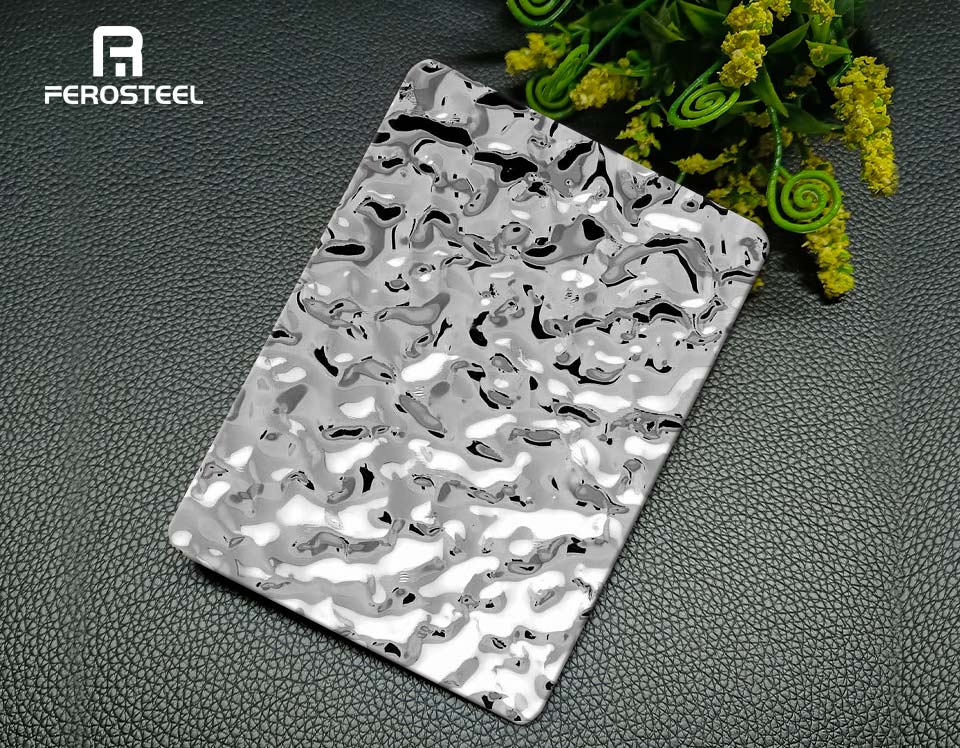
When light hits the rippled water surface, this actually happens: each tiny raised peak acts like a miniature mirror, reflecting light at slightly different angles. A flat stainless steel surface reflects light uniformly, but on a rippled surface, the same beam of light is scattered into dozens of micro-reflections—any movement you make causes them to shift accordingly.
This is why water ripple metal creates that characteristic "flowing water" impression. It's not an illusion — it's real optical physics at work. The dynamic quality depends on three variables: ripple depth, ripple pitch (distance between peaks), and surface reflectivity. Change any one, and the entire visual character shifts.
A mirror-polished base is essential.Simply put: without a mirror base, the ripple effect is useless.。Post-stamping re-polishing is never recommended either — it flattens the carefully engineered peak geometry.
Ripple Geometry Explained
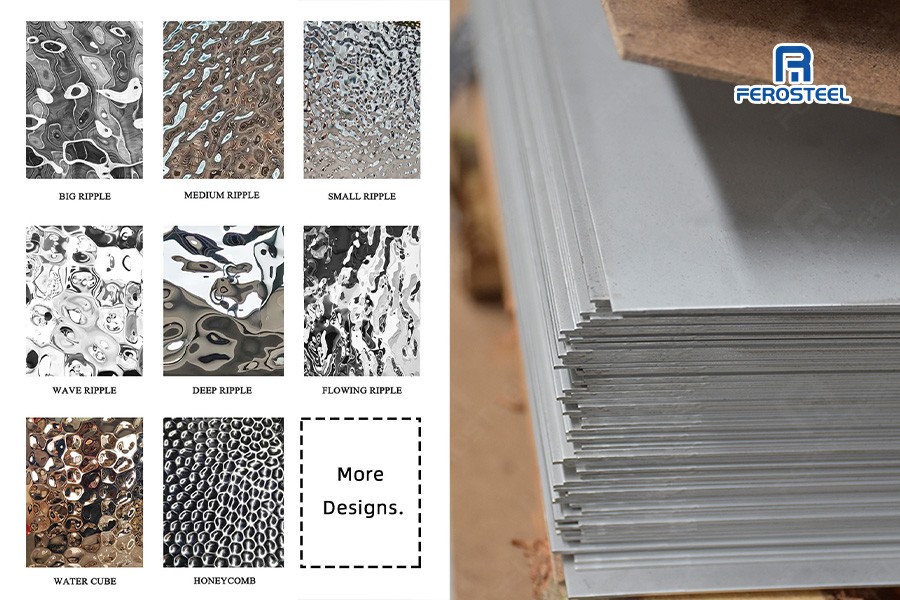
Water ripple patterns come in three standard geometries, each engineered for a different scale and effect:
Parameter
Small Ripple
Medium Ripple
Large Ripple
**Ripple Pitch**
15–25 mm
30–50 mm
60–100 mm
**Ripple Depth**
0.8–1.5 mm
1.5–3.0 mm
3.0–5.0 mm
**Visual Effect**
Subtle shimmer; textile-like
Flowing water; most versatile
Bold dramatic waves
**Best Space Size**
< 30 m²
30–100 m²
> 100 m²
**Recommended Thickness**
0.5–0.8 mm
0.6–1.0 mm
0.8–1.2 mm
**Common Application**
Furniture, cabinetry, small wall panels
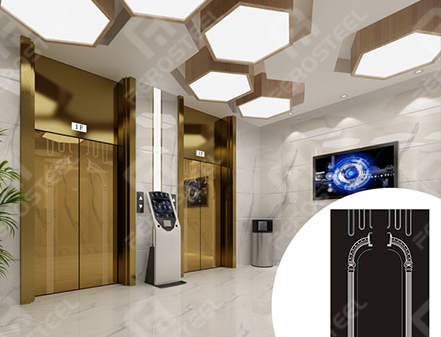
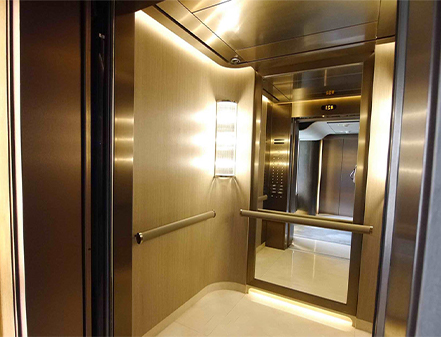
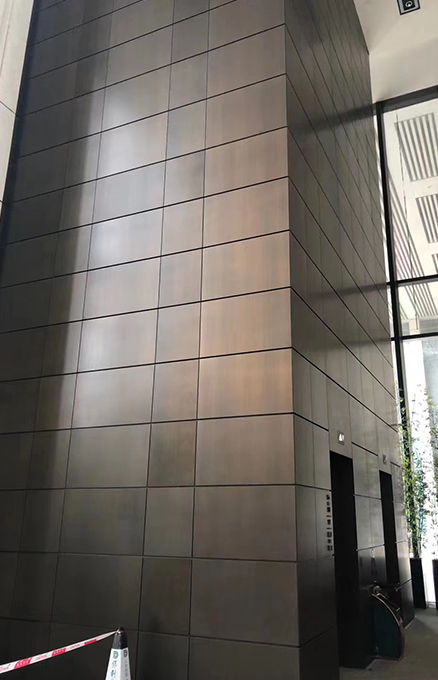
Ceilings, wall cladding, elevator interiors
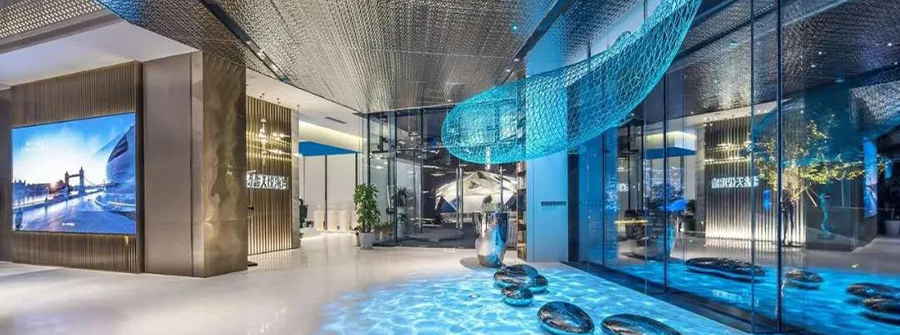
Large ceilings, feature walls, facades
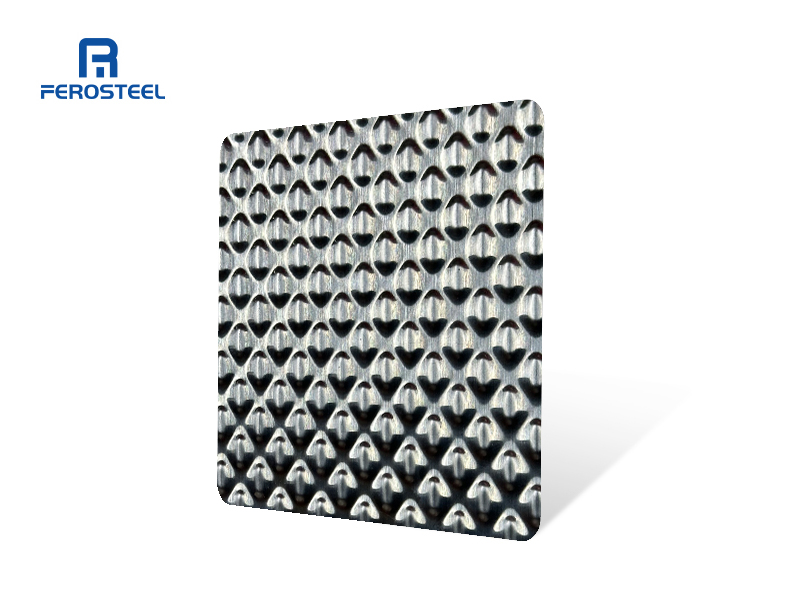
For projects requiring the boldest visual impact, our custom large wave ripple pattern delivers the dramatic effect described above.
One critical note on thickness: the ripple depth must be supported by adequate material thickness. A large ripple pattern on 0.5 mm sheet will deform under handling and result in uneven installations. As a rule of thumb, your sheet thickness should be at least 15–20% of the ripple depth to maintain structural integrity.
Directional vs. Non-Directional Ripple Technology
This is a distinction most first-time buyers miss — and it directly affects your installation outcome.
Directional water ripple sheets have waves that run in a single consistent direction. During stamping, the die moves linearly across the sheet, producing ripples that all flow one way. This creates a strong sense of movement but introduces a critical installation requirement: all panels must be oriented in the same direction, typically indicated by directional arrows marked on the back. Mix up the orientation, and adjacent panels will reflect light in opposing directions — an instant visual defect that's expensive to fix.
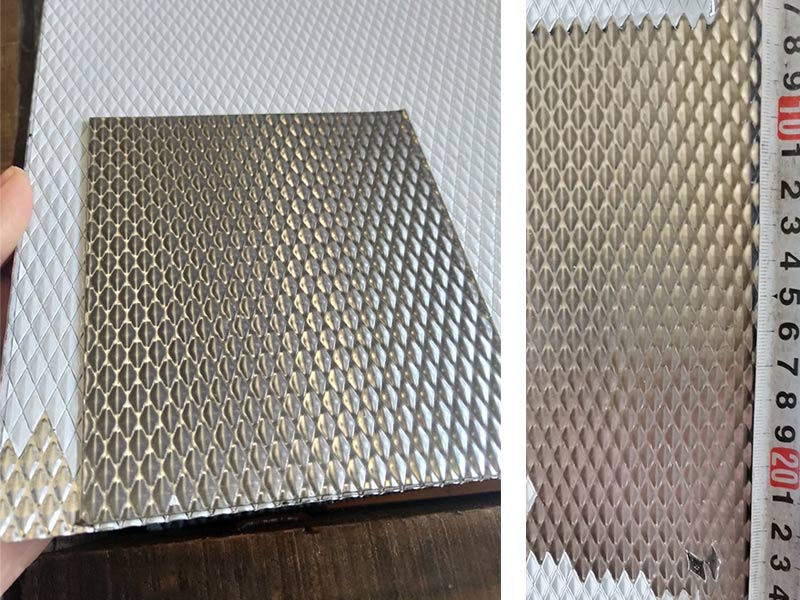
Non-directional water ripple sheets are stamped with a radial or concentric die pattern, creating ripples that emanate from a central point outward. The result is a more organic, natural appearance — closer to the effect of a raindrop hitting water. These sheets can be installed in any orientation without visual conflict, making them more forgiving for complex layouts or curved surfaces.
For large commercial ceilings with rectangular panel grids, directional ripple delivers the most cohesive visual flow — provided the installation team follows orientation markings religiously. For feature walls with irregular panel shapes or mixed orientations, non-directional is the safer choice.
When architects ask about directional vs non-directional water ripple stainless steel, the decision usually comes down to one question: can your installers reliably maintain consistent orientation across every panel? If yes — and the project has long, unbroken sightlines — directional creates a more powerful visual narrative. If the layout is complex or the installation team is less experienced, non-directional removes that risk entirely.
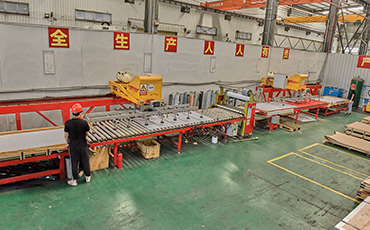
From Raw Steel to Artistic Surface — The Complete Manufacturing Journey
The manufacturing process is not just talk on paper - it directly determines which specifications can be made and which ones will have problems if made. The following are the five steps that actually occur on our production line.
For readers who want an even more detailed breakdown of the water ripple production process, our dedicated production guide covers every step with additional technical diagrams and FAQs.
Step 1 – Base Material Selection
The raw material must meet strict flatness tolerances (typically ≤ 3 mm/m) because any substrate irregularity will amplify through the stamping process.
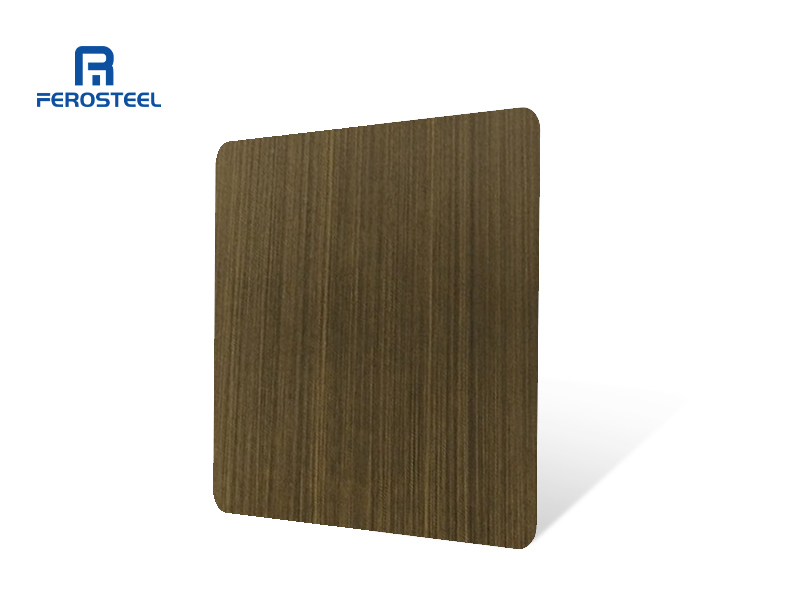
Grade selection at this stage locks in the corrosion-resistance profile:
- 201: Lower nickel content (1–1.5%), cost-effective for dry indoor environments
- 304: 18% chromium, 8% nickel — the industry workhorse for most interior applications
- 316L: Adds 2–3% molybdenum for superior chloride resistance — essential for coastal or humid installations
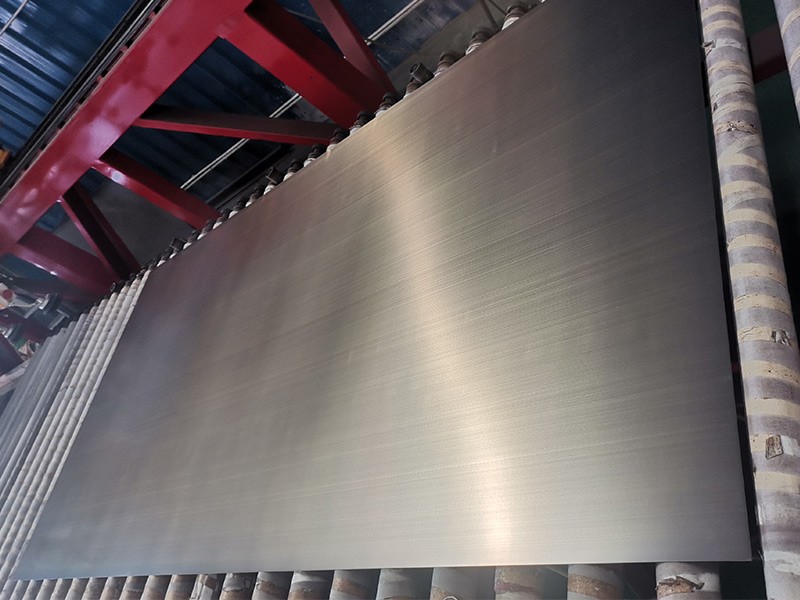
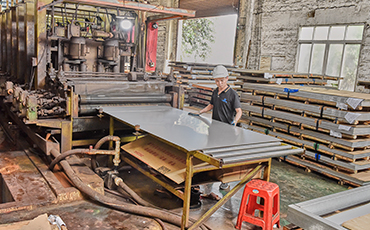
Step 2 – Mirror Polishing
Before any ripple pattern is formed, the flat sheet undergoes mirror polishing to achieve an 8K (No. 8) finish. This involves sequential grinding with abrasive belts from coarse to ultra-fine grit, followed by buffing with chromium oxide compounds. The target surface roughness is Ra ≤ 0.025 μm — essentially optically flat.
Why does this matter? Because the mirror base determines 60–70% of the final visual impact. A poorly polished base sheet will produce a water ripple surface that looks "flat" — the ripples are visible, but the light-scattering magic is gone.
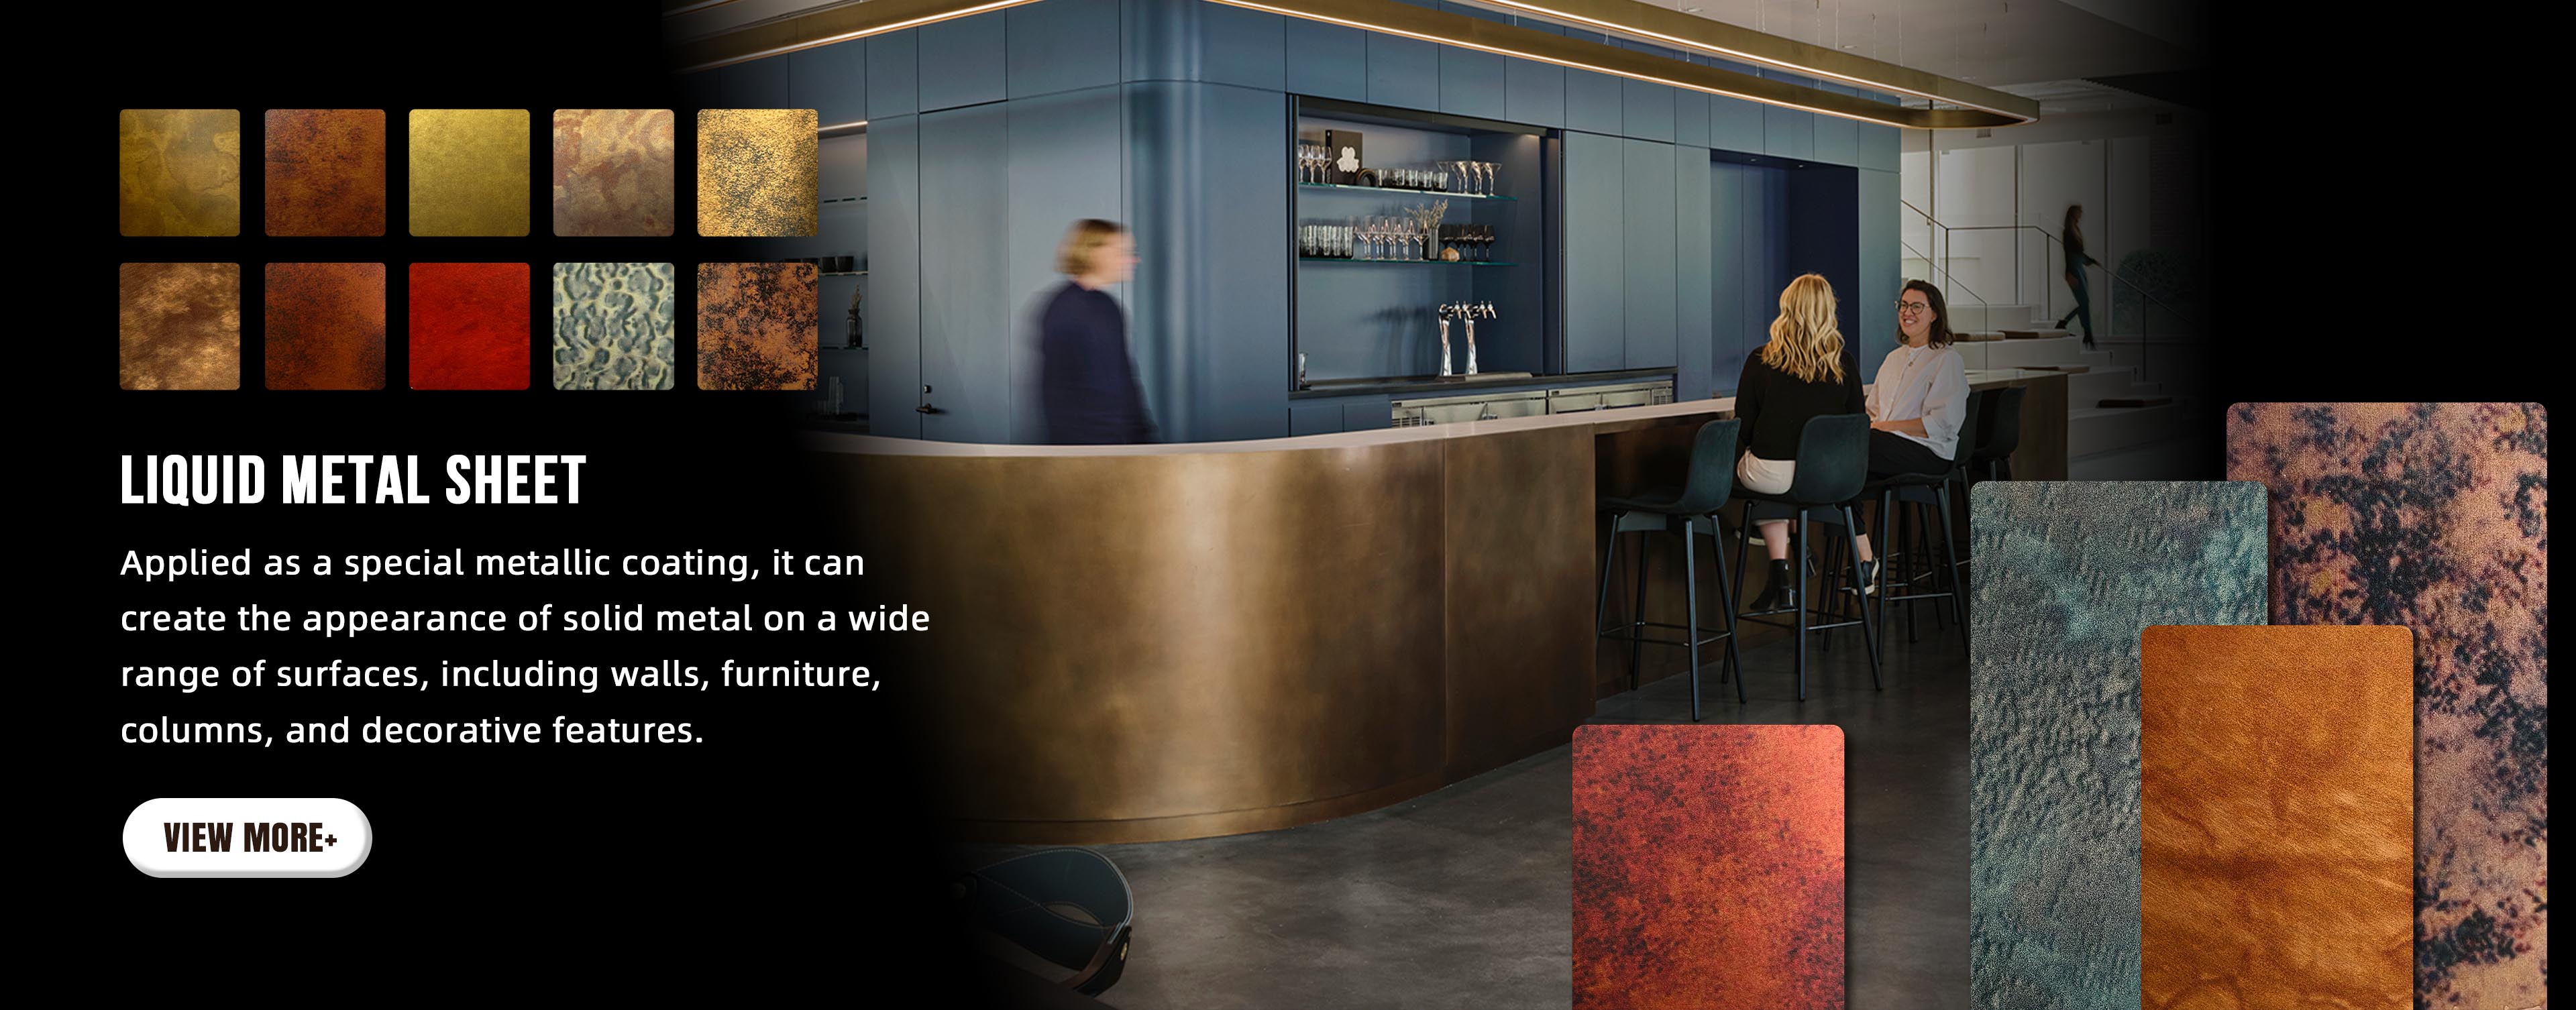
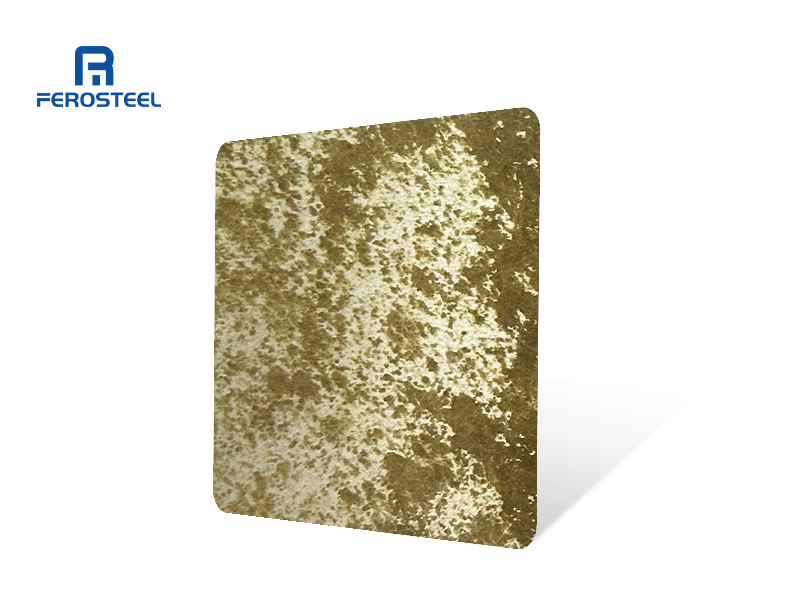
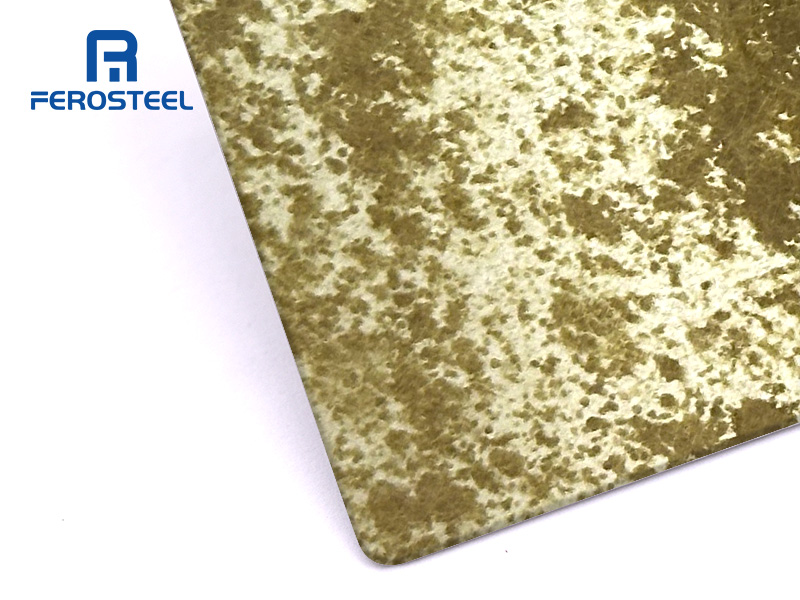
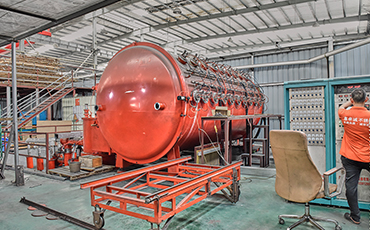
Step 3– PVD Coating (Optional)
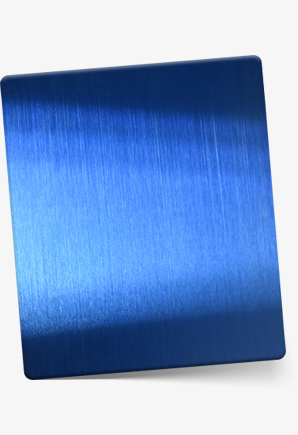
For colored finishes, Physical Vapor Deposition (PVD) — learn more about PVD coating technology for decorative stainless steel — is applied in a vacuum chamber at temperatures of 250–450°C. Titanium-based target materials are vaporized and deposited onto the ripple surface in a thin film (0.3–1.0 μm thick). The color is controlled by the gas mixture (typically nitrogen, argon, and acetylene) and deposition parameters.
PVD colored water ripple stainless steel durability is substantial: the coating achieves a bond strength of ≥ 50 N with the substrate and passes 1,000+ hours of neutral salt spray testing per ASTM B117 standards. Unlike paint or electroplating, PVD forms a metallurgical bond — it doesn't chip, peel, or fade under UV exposure.
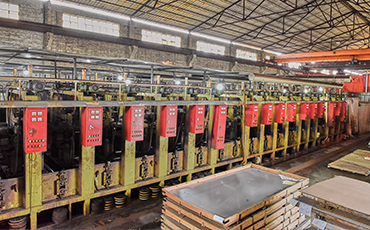
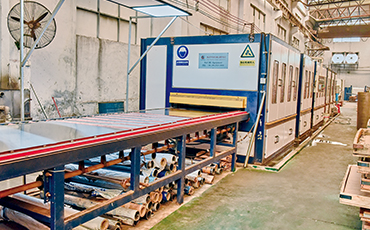
Step 4 – Precision Stamping
This is where the ripple pattern is born. The mirror-polished sheet is fed into a hydraulic embossing press equipped with a custom-engraved die. Press tonnage, dwell time, and die temperature are calibrated to the specific ripple geometry and material thickness.
One detail that distinguishes a real factory from a trader is the completely different stamping sequence for directional and non-directional parts—molds must be changed, and press parameters need to be recalibrated. Changing the corrugation size isn't as simple as switching molds; it requires re-adjusting the entire production line.
This is why small-quantity orders of custom ripple sizes carry longer lead times.
A project manager for a Middle East hotel chain learned this the hard way. Midway through a 200-sheet order for a new property in Riyadh, the design team requested a switch from medium to large ripple for the lobby ceiling — thinking it was a simple change. In reality, it required a full die swap, press recalibration, and a new test run. The change added 8 working days to the lead time. The lesson: finalize your ripple geometry before production starts, because changes mid-run are neither quick nor cheap.
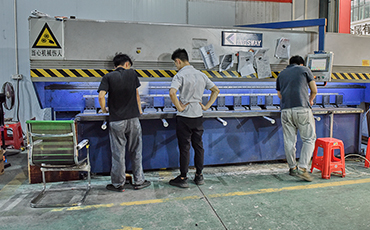
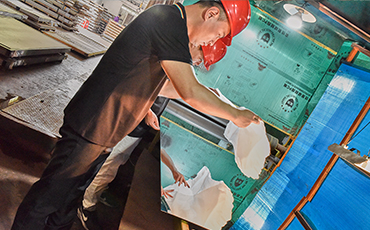
Step 5 – Quality Control & Protective Film
Every sheet undergoes visual inspection for stamping consistency, surface defects, and dimensional accuracy (tolerance: ±1% on width/length). A PE protective film is then applied to the finished surface — and this film must stay in place until the final moment of installation. Removing it early is one of the most common on-site mistakes, leading to scratches that are impossible to repair without replacing the entire panel.
Request free sample sheets from Ferosteel → we ship worldwide.
Water Ripple Stainless Steel Sheets vs. Other Decorative Finishes — A Comprehensive Comparison
A direct comparison is clearer - We have pulled out the water ripple and five common finishes on the market and compared them item by item:
Feature
Water Ripple
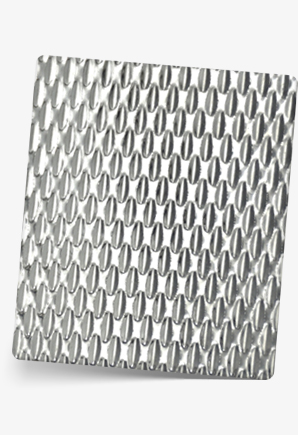
Hammered
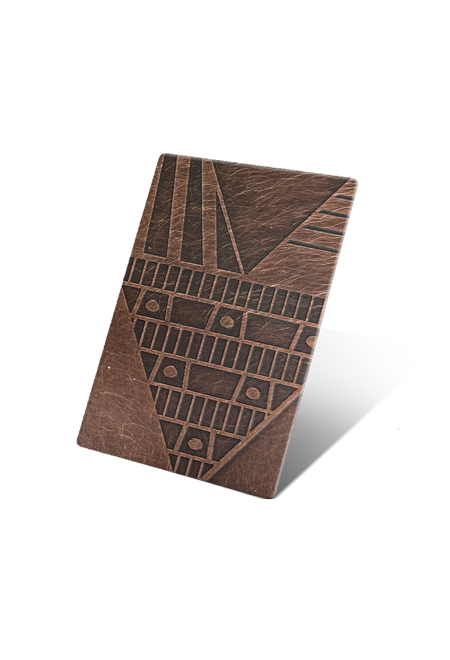
Etched
Hairline
8K Mirror
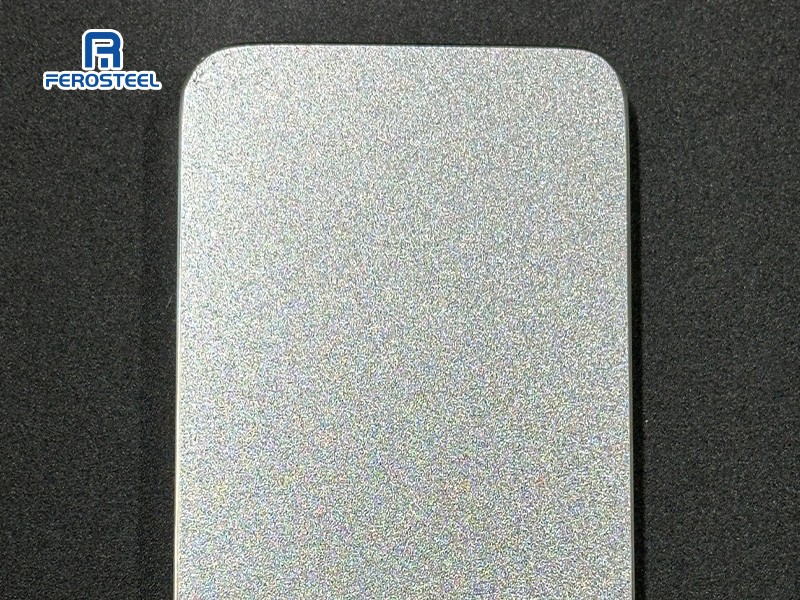
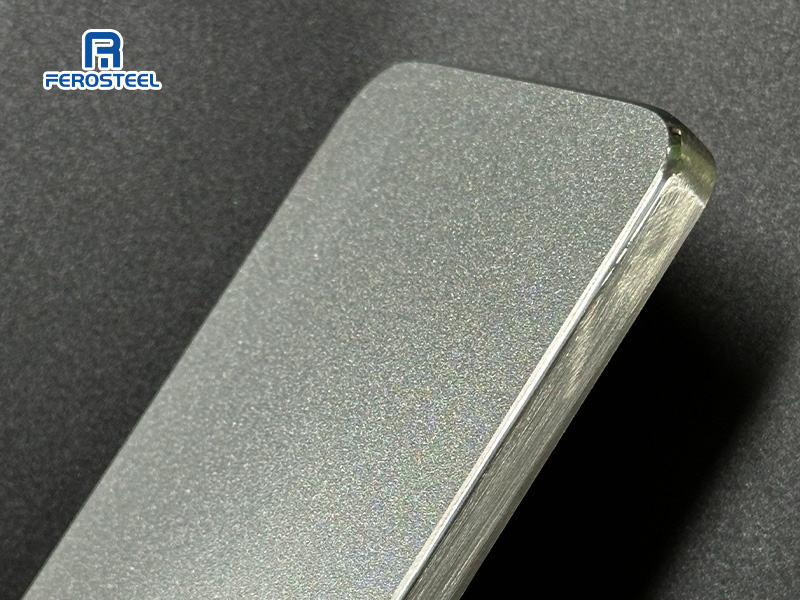
Sandblasted
**Visual Depth**
High (3D undulation)
Medium (random dents)
Low (2D pattern)
Low (directional lines)
None (flat reflection)
None (matte flat)
**Light Dynamics**
Dynamic, angle-dependent
Semi-dynamic
Static
Static (directional)
Static (uniform)
Static (diffuse)
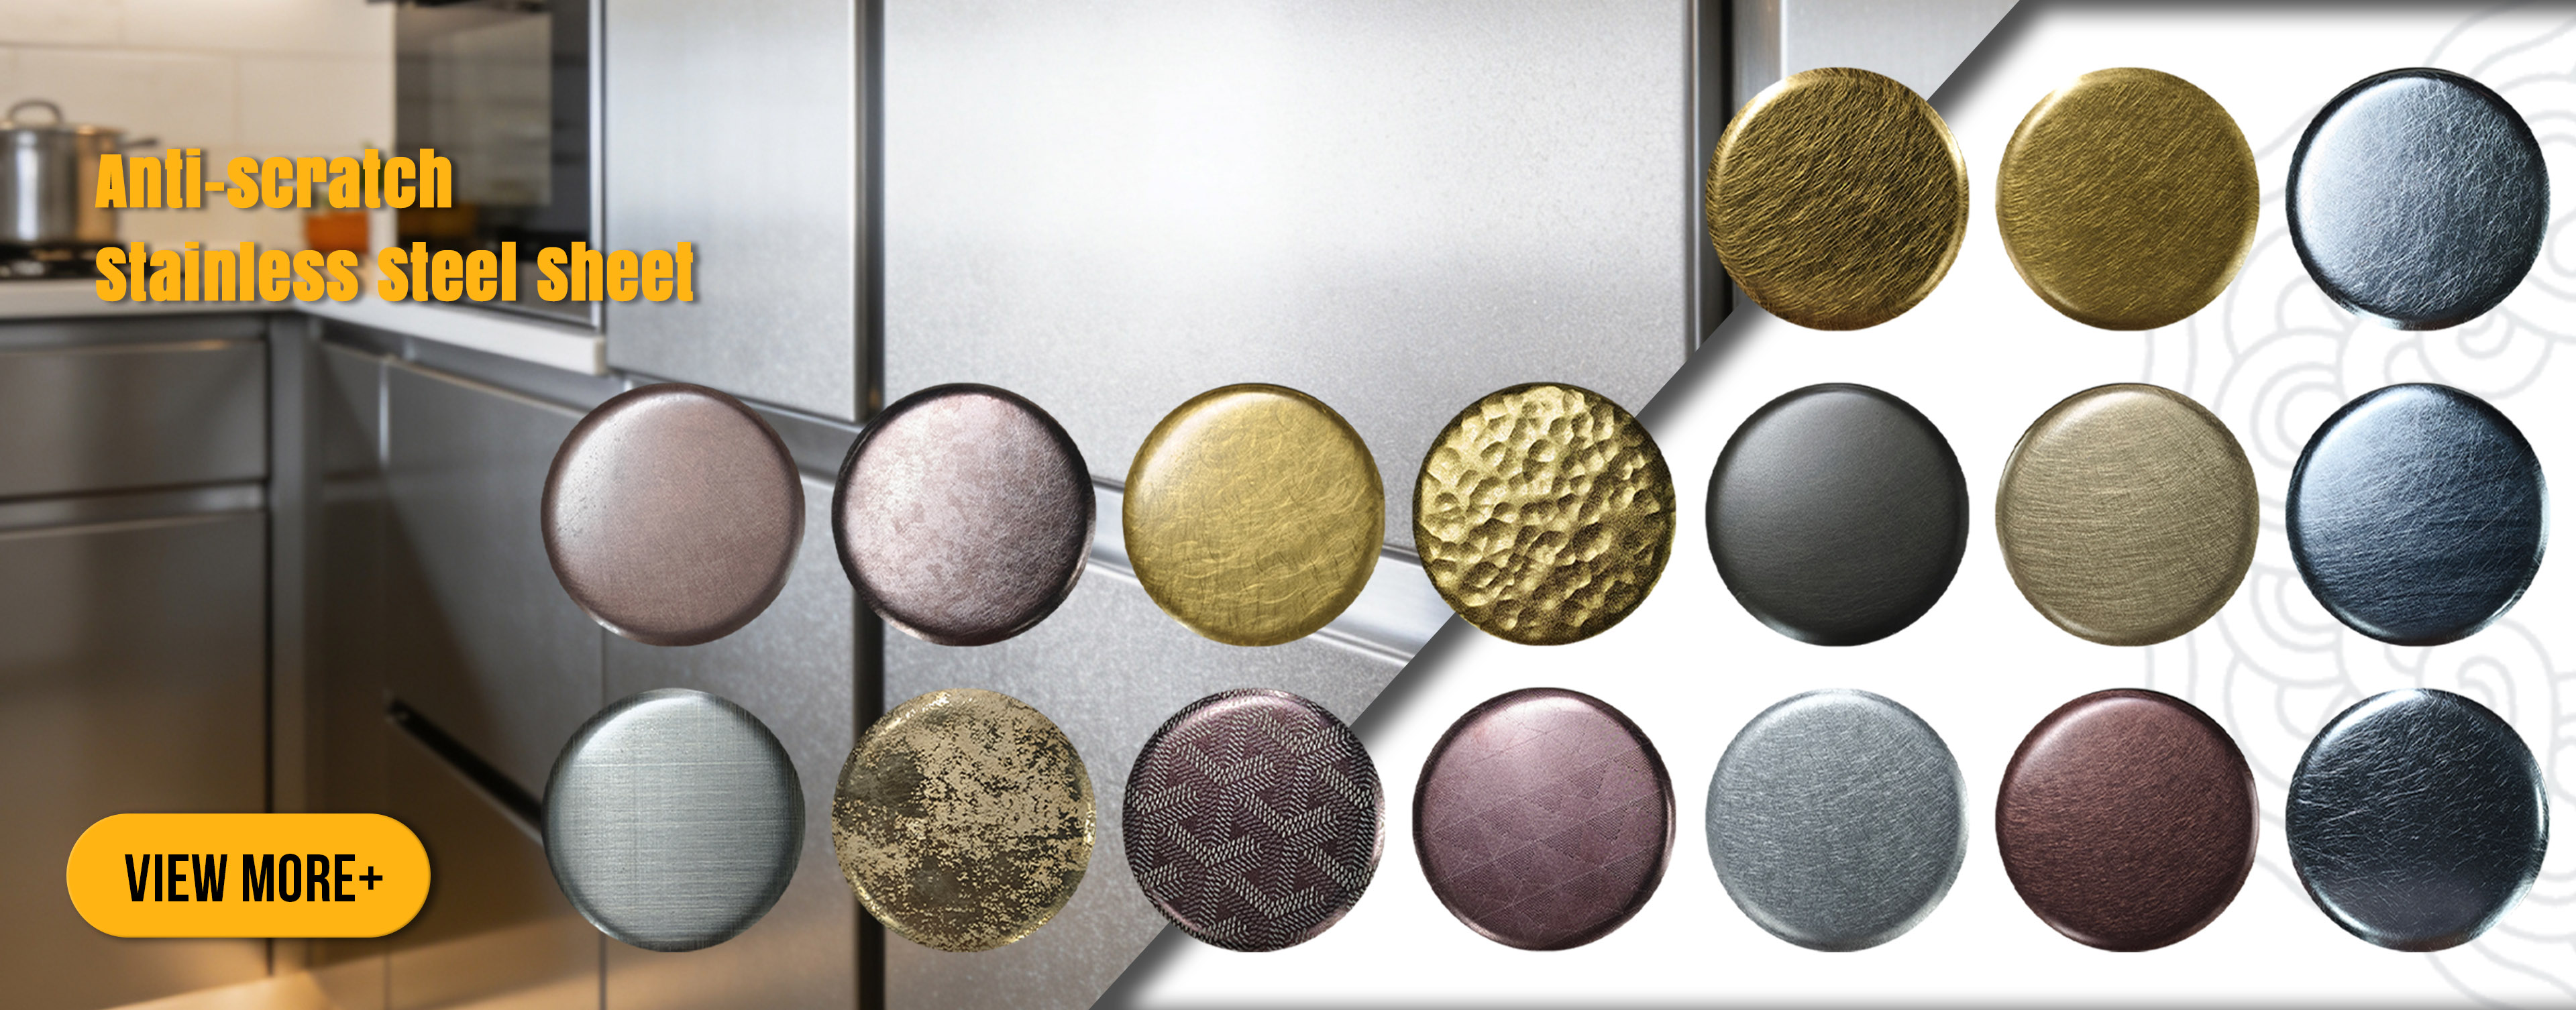
**Fingerprint Visibility**
Low (texture conceals)
Low
Medium
High
Very high
Low
**Cleanability**
Good
Moderate (deep dents)
Good
Good
Poor (smudges show)
Good
**Scratch Concealment**
Excellent
Good
Moderate
Poor
Very poor
Excellent
**Typical Thickness Range**
0.5–1.2 mm
0.6–1.5 mm
0.5–2.0 mm
0.4–1.5 mm
0.3–1.5 mm
0.5–2.0 mm
**PVD Color Compatible**


 Click Here to عرض المزيد من المنتجات


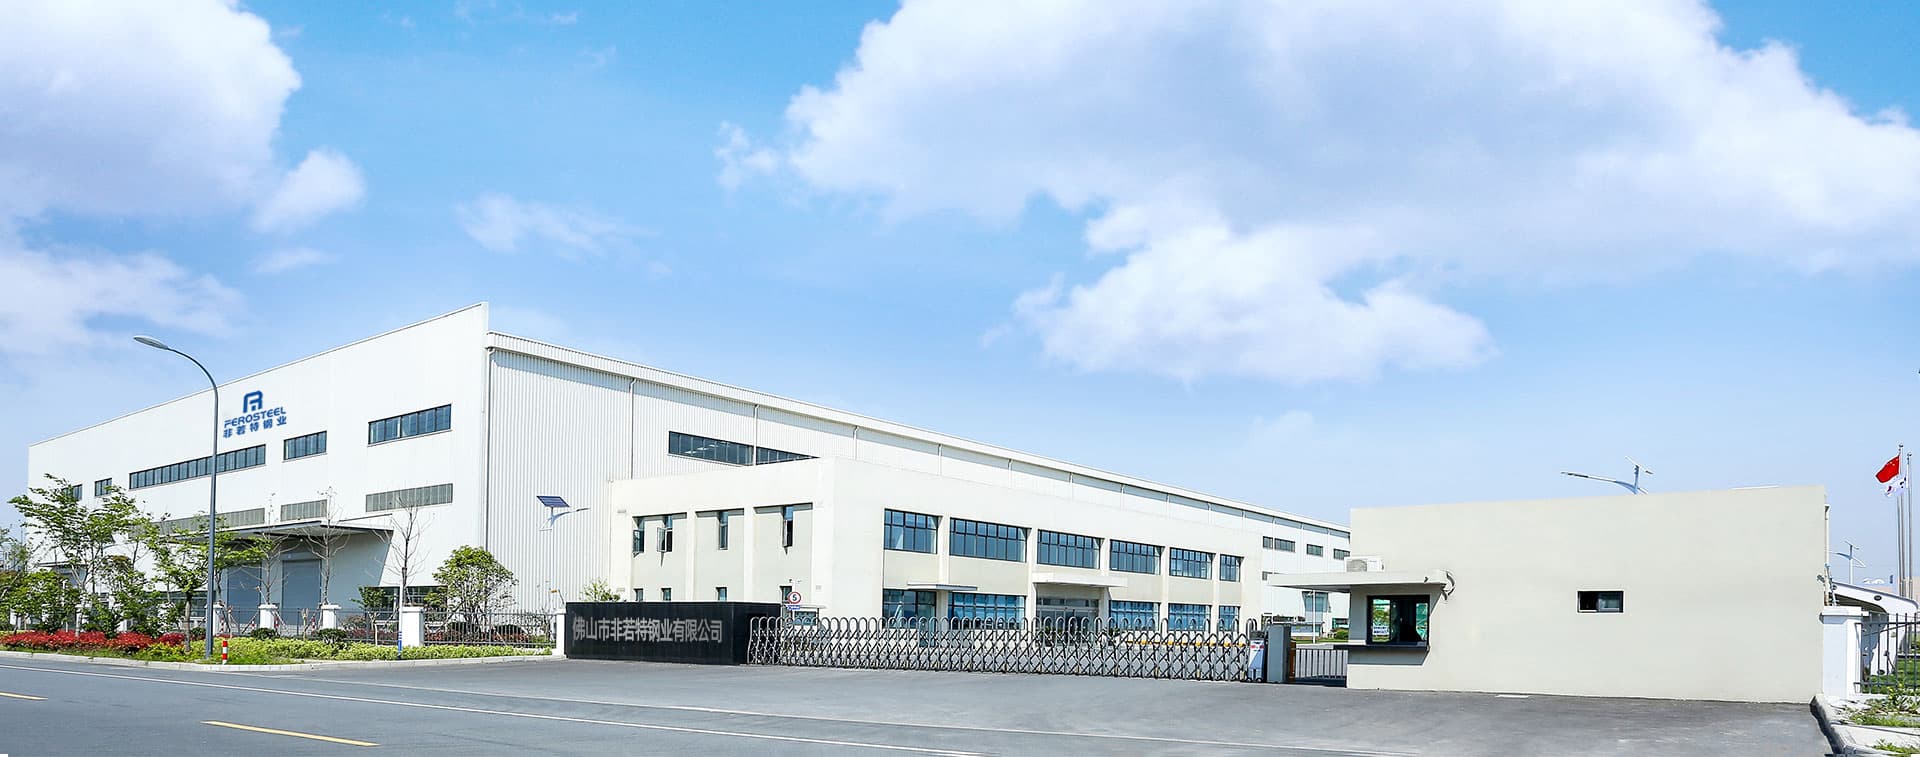


 Office address: 26 Floor, Shibo Financial Center, Fenjiang South Road No.38, Chancheng, Foshan, GuangDong, China
  Phone
: +86 -18024913898
Phone
: +86 -18024913898 البريد الإلكتروني
: [email protected]
البريد الإلكتروني
: [email protected]


 IPv6 دعم الشبكة
 اترك رسالة